
Connect your POS
The supported POS systems, connecting one, syncing, and what a sync replaces.
Connecting your point of sale brings your dishes, prices and categories into tamr, so you don't type the menu twice. Open Settings → Connections → Point of sale (POS) → Connect, or Point of sale (POS) in the Settings list.
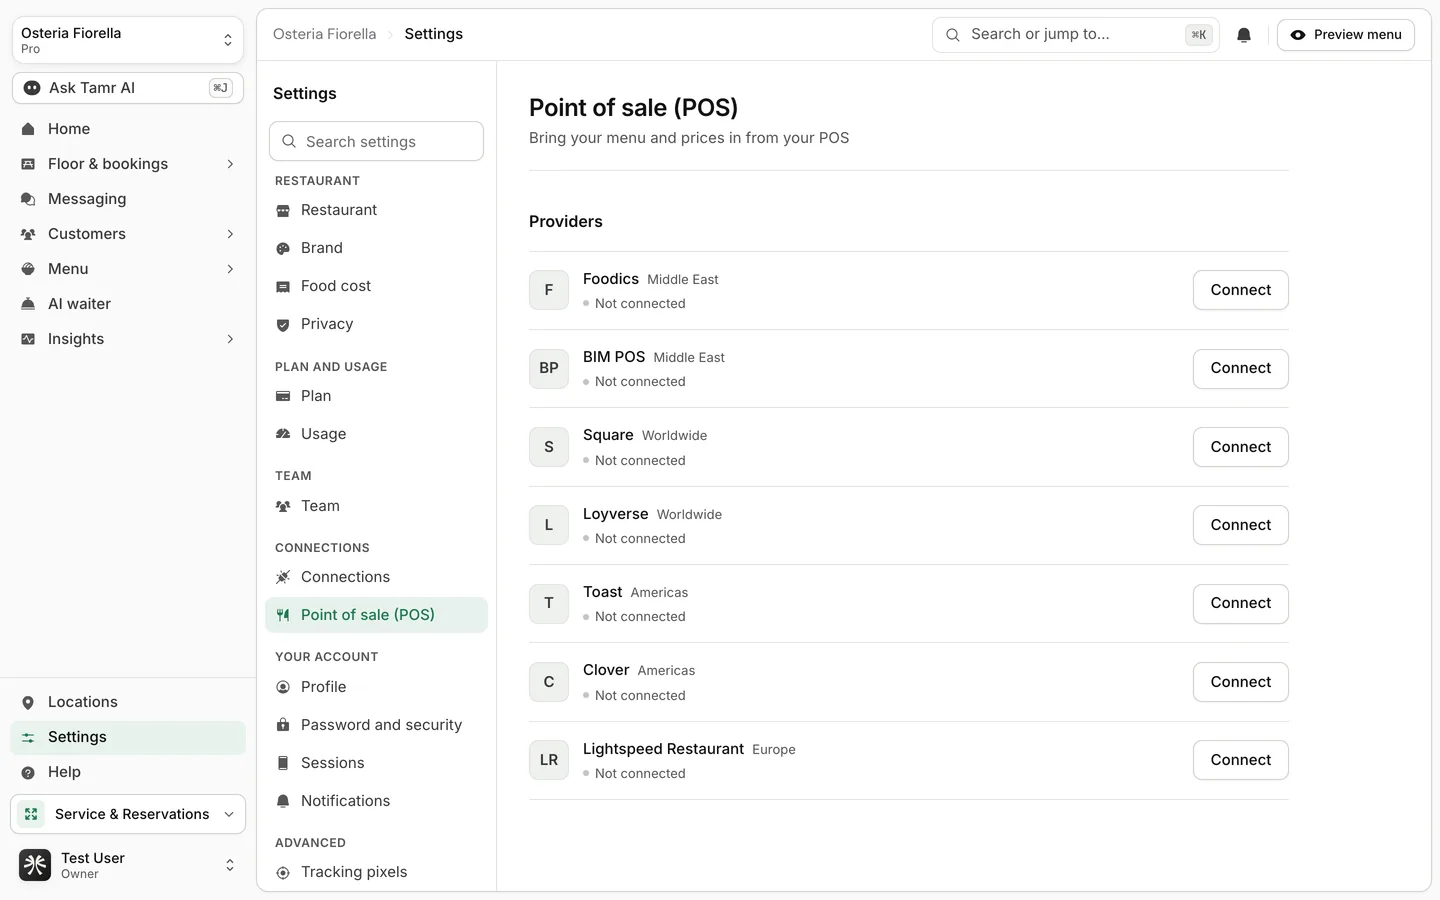
POS sync is part of Pro. On Free the page shows POS sync is on Pro with See plans, and each Connect button is locked.
Supported systems
| Region | Systems |
|---|---|
| Middle East | Foodics, BIM POS |
| Worldwide | Square, Loyverse |
| Americas | Toast, Clover |
| Europe | Lightspeed Restaurant (K-Series) |
Connect and sync
- 1Pick your system
In the providers list, select Connect on your POS.
- 2Enter what it asks for
The dialog asks for that system's access key or sign-in and tells you where to find it. tamr checks the connection before saving it.
- 3Run the first sync
The first sync creates a new menu as a draft with your categories, dishes and prices. Review it, add photos and notes, then publish it.
- 4Sync again after till changes
Open the connection and select Sync now. Later syncs update the same menu.
Each sync rewrites the synced menu's categories and dishes from the POS in one step. Edits you made to those dishes in tamr are replaced. Keep the POS as the source of truth for names and prices.
The connection dialog
StatusenumAccounttextBrings infixedLast synctimeSync now / DisconnectactionsFAQ
The status says Last sync failed.
Open the connection to read the error. The usual cause is an expired or changed key on the POS side: disconnect, connect again with a new key, then Sync now.
Does the POS receive orders from tamr?
No. The sync brings the menu in. Table orders appear in tamr under Orders →.
Can I disconnect later?
Yes. Disconnecting stops syncing. The menu stays in tamr.
Related
Last reviewed October 14, 2026